Homeowners often face the challenge of maintaining their spaces, and DIY home repair offers a practical solution. With the right tools and a bit of know-how, tackling those pesky leaks, squeaky doors, or chipped paint can be both rewarding and cost-effective. Instead of relying on professionals for every little issue, many are discovering the satisfaction that comes from rolling up their sleeves and getting to work.
Embracing DIY home repair not only saves money but also empowers individuals to take control of their living environment. It fosters creativity and problem-solving skills, turning mundane tasks into opportunities for personal growth. Whether it’s fixing a leaky faucet or installing new shelves, each project brings a sense of accomplishment that enhances the home and boosts confidence.
Table of Contents
ToggleUnderstanding DIY Home Repair
DIY home repair offers practical solutions for homeowners, empowering them to maintain their living spaces while saving money. By equipping themselves with the right tools and knowledge, individuals can efficiently address various common issues.
Benefits of DIY Home Repair
- Cost Savings: DIY home repair significantly reduces labor costs associated with hiring professionals.
- Skill Development: Engaging in home repair builds valuable skills, enhancing problem-solving and creativity.
- Personal Satisfaction: Completing a project instills a sense of accomplishment, boosting confidence in one’s abilities.
- Customization: Homeowners can tailor repairs and improvements to suit their unique preferences and needs.
- Timeliness: DIY efforts allow homeowners to address repairs immediately, preventing further damage and urgent costs.
Common DIY Home Repair Projects
- Fixing Leaks: Homeowners can repair plumbing leaks by replacing washers or tightening fittings.
- Squeaky Doors: Applying lubricant to hinges resolves squeaking noises and improves door function.
- Painting: Painting walls and ceilings refreshes the aesthetic of any room and requires minimal tools.
- Installing Shelves: Wall-mounted shelves create additional storage space and enhance organization.
- Replacing Light Fixtures: Swapping outdated light fixtures improves lighting quality and energy efficiency.
- Minor Drywall Repairs: Patching small holes in drywall requires spackle, a putty knife, and a little sanding.
Essential Tools for DIY Home Repair

Equipping a toolkit with essential tools ensures effective and efficient home repairs. Whether starting as a beginner or advancing to skilled DIY projects, having the right tools matters.
Must-Have Tools for Beginners
- Hammer: A standard claw hammer allows for driving nails and removing them with ease.
- Screwdriver Set: A set with both Phillips and flathead screwdrivers is crucial for various tasks.
- Tape Measure: A 25-foot tape measure aids in measuring spaces accurately.
- Utility Knife: A retractable utility knife serves many cutting purposes.
- Pliers: Slip-joint pliers offer grip for holding, bending, and cutting wires or other materials.
- Level: A 24-inch level ensures that shelves and pictures hang straight.
- Drill: A cordless drill simplifies drilling holes and driving screws.
- Wrench: An adjustable wrench accommodates different sizes of nuts and bolts.
Advanced Tools for Experienced DIYers
- Circular Saw: A circular saw provides precision for cutting wood and other materials effectively.
- Jigsaw: A jigsaw enables intricate cuts, perfect for detailed projects.
- Stud Finder: A stud finder detects wall studs for secure shelving or heavy fixtures.
- Angle Grinder: An angle grinder offers versatility for cutting, grinding, and polishing.
- Nail Gun: A nail gun speeds up the nailing process in carpentry tasks.
- Impact Driver: An impact driver delivers high torque for driving screws into tough materials.
- Heat Gun: A heat gun facilitates tasks such as stripping paint or bending plastic.
- Shop Vacuum: A shop vacuum keeps the workspace clean during and after projects.
Having these essential and advanced tools empowers homeowners to tackle a range of DIY projects, enhancing their skills and maintaining their homes effectively.
Safety Tips for DIY Home Repair
Safety is crucial during DIY home repair projects. Proper precautions protect individuals from injuries and ensure successful project completion.
Personal Protective Equipment (PPE)
Using appropriate personal protective equipment (PPE) is essential for safety. Key items include:
- Safety Glasses: Protect eyes from debris and dust.
- Gloves: Shield hands from sharp tools and hazardous materials.
- Dust Mask: Prevent inhalation of harmful particles during sanding or demolition.
- Ear Protection: Safeguard hearing when using loud power tools.
- Hard Hat: Wear a hard hat when working in areas with overhead hazards.
Common Safety Hazards to Avoid
Identifying and avoiding common safety hazards enhances project safety. Important hazards include:
- Slips and Falls: Keep work areas free of clutter and clean spills immediately.
- Electrical Shock: Turn off power before working on electrical wiring or fixtures.
- Lifting Injuries: Use proper lifting techniques to avoid straining back or muscles.
- Chemical Exposure: Read labels and use chemicals in well-ventilated areas, wearing appropriate PPE.
- Tool Accidents: Maintain tools in good condition and operate them according to the manufacturer’s instructions.
By following these safety tips, DIY enthusiasts can minimize risks and enjoy a successful home repair experience.
Step-by-Step Guide to Popular DIY Home Repairs
This section provides detailed instructions for two common DIY home repair tasks: fixing leaky faucets and patching drywall. Each task involves clear steps and essential materials.
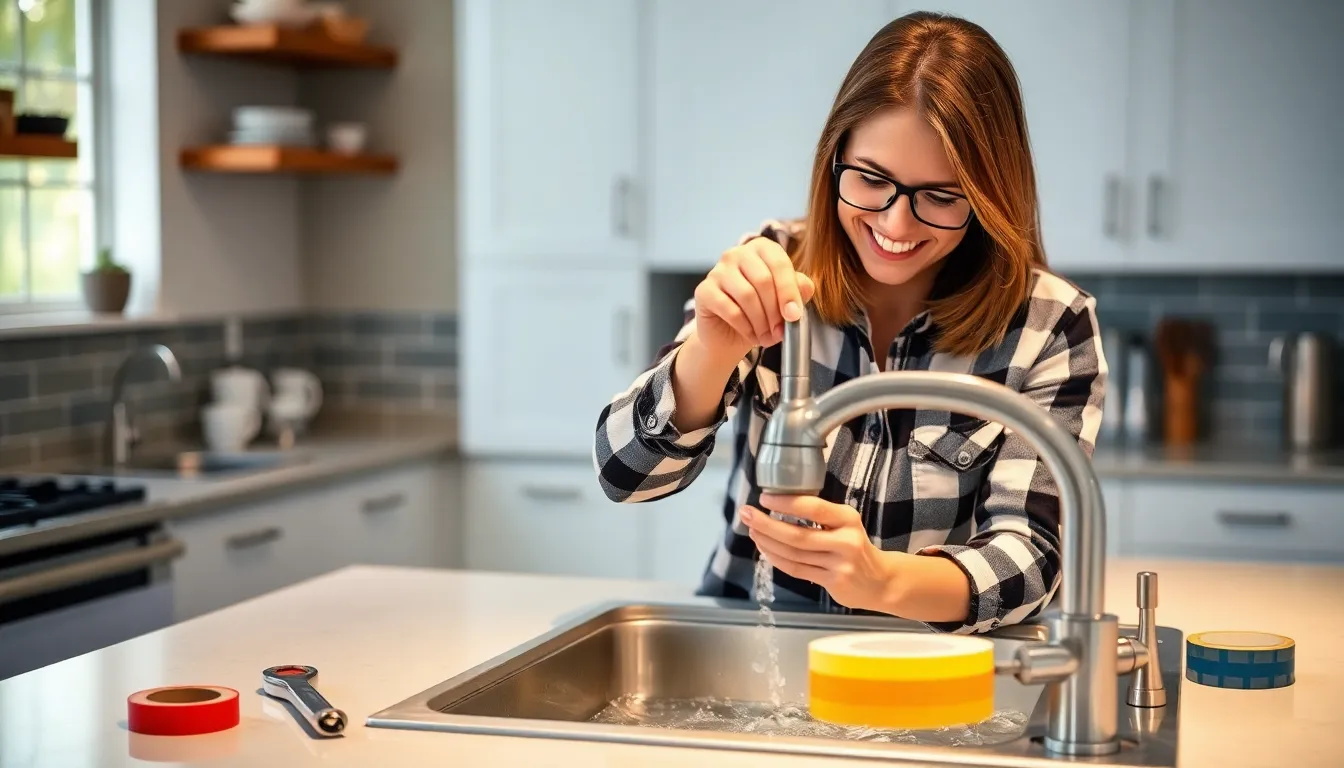
Fixing Leaky Faucets
Fixing leaky faucets typically requires basic tools and materials.
- Gather necessary tools: Use an adjustable wrench, screwdriver set, and replacement washers or O-rings.
- Turn off water supply: Locate the shut-off valves under the sink and turn them clockwise to stop the water flow.
- Remove faucet handle: Unscrew or pull off the handle, depending on the model.
- Take apart faucet components: Carefully disassemble the faucet, remembering the order of parts for reassembly.
- Inspect washers and O-rings: Check for wear or damage; replace them as needed.
- Reassemble faucet: Reinstall components in the reverse order and tighten connections securely.
- Turn on water supply: Restore water flow and check for leaks.
Patching Drywall
Patching drywall requires a few materials and basic tools to effectively repair small holes or cracks.
- Gather materials: Use a patching compound, putty knife, sandpaper, and paint.
- Clean the damaged area: Remove any loose debris around the hole or crack with a utility knife.
- Apply patching compound: Use a putty knife to spread the compound over the area, filling the hole entirely.
- Smooth surface: Feather the edges of the compound to blend with the surrounding wall.
- Allow to dry: Wait for the compound to dry as per the manufacturer’s instructions, usually a few hours.
- Sand the patched area: Lightly sand the surface with fine-grit sandpaper until smooth.
- Paint the area: Match the existing wall color by applying paint over the patched area, blending it seamlessly.
With these straightforward steps, homeowners can efficiently tackle leaky faucets and patch drywall, promoting self-sufficiency and confidence in DIY home repairs.
Embracing DIY home repair not only saves money but also empowers homeowners to take charge of their living spaces. By developing practical skills and creativity, individuals can transform simple tasks into rewarding projects. The right tools and safety precautions make it easier to tackle common issues confidently.
With a wealth of resources available, anyone can learn to fix leaks or patch drywall, enhancing their home while gaining a sense of accomplishment. As homeowners engage in these projects, they cultivate a deeper connection to their space and foster a spirit of self-reliance. Ultimately, DIY home repair is more than just maintenance; it’s an opportunity for personal growth and satisfaction.


