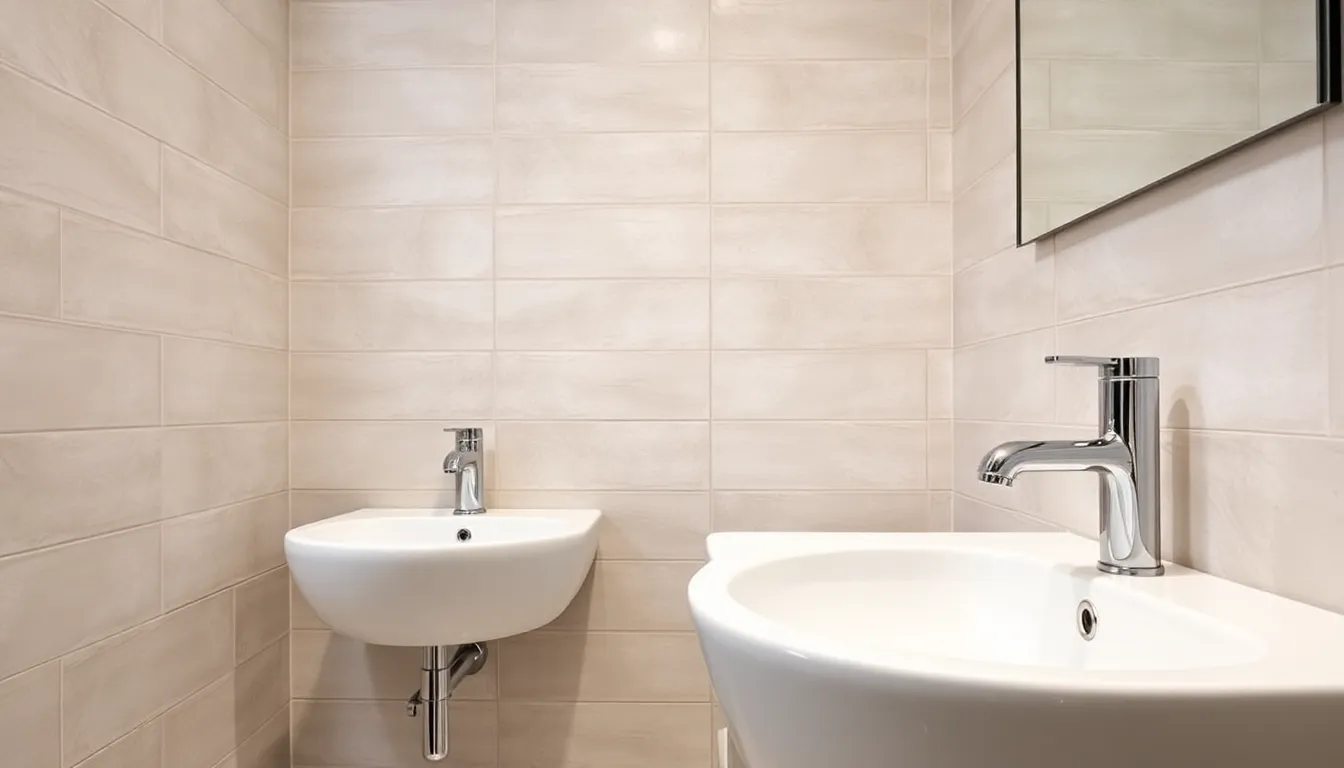
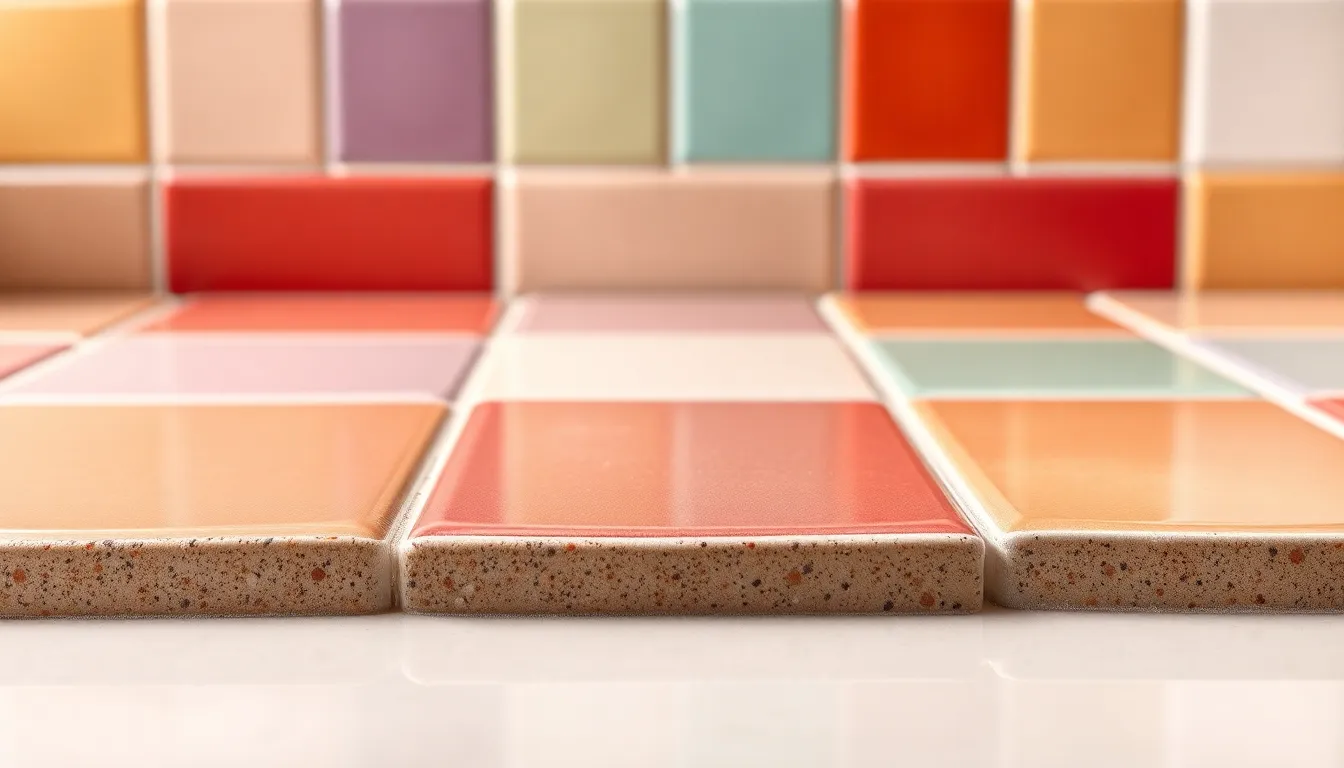
Over time, even the most stunning tile installations can lose their luster. Grout can become discolored, cracked, or even moldy, detracting from the beauty of the tiles themselves. Regrouting tiles isn’t just a cosmetic fix; it’s an essential maintenance task that can prolong the life of your tiled surfaces and maintain a clean, fresh appearance.
Whether it’s in the bathroom, kitchen, or any tiled area, regrouting can breathe new life into old surfaces. This process not only enhances aesthetics but also helps prevent moisture and dirt from seeping into the underlying structures. With the right tools and techniques, anyone can tackle this project and enjoy the satisfaction of a job well done.
Table of Contents
ToggleWhat Is Regrouting Tiles?
Regrouting tiles involves the process of removing old, damaged, or discolored grout and replacing it with new grout. Grout fills the spaces between tiles, providing not only a finished look but also preventing moisture and dirt infiltration. Over time, grout can deteriorate, causing aesthetic and functional issues.
Regrouting is essential for maintaining tile installations, especially in areas prone to moisture, like bathrooms and kitchens. It enhances the overall appearance of tiled surfaces, restoring color and uniformity. Proper regrouting also aids in preventing further damage to tile and underlying structures by reducing the risk of mold growth and water damage.
To complete the regrouting process, tools such as a grout saw, sponge, and new grout mix are necessary. Individuals can choose between various grout types, including epoxy or cement-based options, depending on the project requirements. By regrouting tiles, one can significantly improve the longevity and visual appeal of their tiled surfaces.
Why Regrouting Tiles Is Important


Regrouting tiles serves multiple essential purposes that enhance the longevity and aesthetics of tiled surfaces. Regular maintenance prevents serious issues, ensuring both functionality and visual appeal.
Benefits of Regrouting Tiles
- Improved Appearance: Fresh grout significantly enhances the visual appeal of tile installations by eliminating discoloration and stains. It provides a cleaner, more polished look to floors and walls.
- Mold Prevention: Regrouting removes damaged, moldy grout, reducing the risk of mold growth. This is crucial in moisture-prone areas like bathrooms and kitchens, where mold can thrive.
- Increased Lifespan: Replacing old grout with new material extends the life of tiles. The new grout forms a protective barrier against moisture, preventing further damage to underlying structures.
- Easier Cleaning: New grout is easier to clean and maintain. Smooth, consistent grout lines prevent dirt accumulation and simplify routine cleaning efforts.
- Enhanced Value: Well-maintained tile work boosts property value. Homebuyers often prefer spaces that reflect good upkeep, including refreshed grout lines.
Common Problems Caused by Worn Grout
- Cracks: Cracked grout can compromise the integrity of installed tiles, allowing them to loosen or shift. This often requires costly repairs or complete replacement.
- Discoloration: Discolored grout makes tiled areas look aged and unkempt. It’s a common sign that regrouting is necessary to restore the original appearance.
- Water Damage: Worn grout permits water infiltration, leading to potential damage to subflooring and wall structures. This can cause mold proliferation and costly repairs.
- Pest Infestation: Cracks and gaps in grout can attract pests. Insects and rodents find entry points, posing health risks and further damage to the property.
- Increased Maintenance: Neglected grout results in higher cleaning and maintenance demands. Dirty grout often requires harsh chemicals for cleaning, which can damage tiles over time.
How to Regrout Tiles
Regrouting tiles involves specific steps and tools, ensuring a successful renovation. Proper preparation and technique yield enhanced durability and aesthetic appeal.
Tools and Materials Needed
- Grout Saw: Removes old grout effectively, reaching into tight spaces.
- Grout Float: Used to spread new grout evenly across tile surfaces.
- Sponge: Cleans excess grout from tile surfaces during the grouting process.
- Bucket: Holds water for rinsing sponges and mixing grout.
- New Grout Mix: Choose between epoxy or cement-based options based on the area and use case.
- Caulking Gun: Applies silicone caulk to joints and edges to prevent moisture intrusion.
- Painter’s Tape: Protects adjacent surfaces from stray grout and caulk.
- Safety Gear: Includes gloves and goggles to protect skin and eyes.
Step-by-Step Process
- Prepare the Area: Clear the area of furniture and personal items. Ensure proper ventilation by opening windows or using fans.
- Remove Old Grout: Utilize a grout saw to carefully extract damaged or discolored grout without harming the tiles. Focus on areas with visible cracks or mold.
- Clean the Gaps: Wipe out debris and dust from the gaps using a vacuum or damp sponge. Cleanliness ensures proper adhesion of new grout.
- Mix New Grout: Follow package instructions to combine grout mix with water in a bucket. Achieve a smooth, paste-like consistency suitable for application.
- Apply New Grout: Use a grout float to press the new grout into the gaps, ensuring complete coverage. Work in small sections for better control.
- Remove Excess Grout: After applying, use the edge of the grout float to scrape excess grout from tile surfaces. Avoid slippage to maintain freshly filled joints.
- Clean the Surface: Dampen a sponge and gently wipe the tiles to remove further grout residue. Rinse the sponge frequently to avoid smearing.
- Allow Grout to Cure: Follow the manufacturer’s instructions for curing time, usually about 24 to 48 hours, before walking on or sealing the grout.
- Seal the Grout: Once fully cured, apply a grout sealer to protect against moisture and staining. This step prolongs the life of the new grout.
These steps ensure a thorough and effective regrouting process, maintaining both functionality and appearance of tiled surfaces.
Tips for Successful Regrouting
- Choose the Right Grout: Select a grout type that suits the specific tiles and intended use. For wet areas, consider using epoxy grout for its waterproof properties. For dry areas, cement-based grout provides a durable option.
- Prepare the Surface: Ensure the tile surface is clean and free of any debris. Vacuum or wipe down the area to remove dust and dirt, allowing the new grout to adhere properly.
- Use Proper Tools: Equip yourself with essential tools, including a grout saw, grout float, sponge, and safety goggles. These tools facilitate efficient grout removal and application.
- Apply Even Pressure: When pressing new grout into the joints, apply consistent pressure using a grout float. This ensures even distribution and eliminates air pockets, promoting a strong bond.
- Clean Excess Grout Quickly: As you work, keep a damp sponge nearby to clean excess grout off tiles before it hardens. This step prevents stubborn residue from forming on the tile surface.
- Ensure Thorough Drying: Allow the grout to cure completely based on the manufacturer’s instructions, usually about 24 to 72 hours. Proper curing enhances its strength and moisture resistance.
- Seal Grout for Protection: After the grout has cured, apply a grout sealer to protect against moisture and staining. Reseal as recommended, usually every 6 to 12 months, for optimal longevity.
- Inspect Regularly: Conduct periodic inspections of grout lines to identify any signs of wear or damage early. Addressing issues promptly prevents more extensive repairs and maintains tile integrity.


