Bitumen flat roofs are durable workhorses on commercial and residential buildings, but they don’t last forever. Age, weather exposure, and UV damage eventually create leaks, cracks, and blistering that demand attention. The good news is that many bitumen flat roof repairs are manageable DIY projects if caught early. This guide covers what homeowners and property managers need to know about diagnosing damage, gathering the right materials, and executing fixes that actually hold up. Whether dealing with a small puncture or spreading deterioration, understanding the repair process prevents costly water damage and extends roof life by years.
Table of Contents
ToggleKey Takeaways
- Bitumen flat roof repair addresses common damage types including blistering, cracks, splits, and seam separation, which can be managed as DIY projects if caught early and properly diagnosed.
- Inspect your bitumen roof regularly from safe vantage points, checking for blisters, visible cracks, separated seams, and interior water stains—early detection prevents costly water damage to insulation and framing.
- Proper surface preparation is critical: clean away all debris, rough up the bitumen with a wire brush, and ensure the area is dry before applying patches or roofing cement for effective adhesion.
- Use self-adhesive bitumen patches for small punctures or narrow cracks, while larger damage requires traditional roofing cement and reinforcing felt fabric applied in multiple layers and allowed to cure for 24–48 hours.
- Reflective roof coatings applied after bitumen flat roof repair protect against UV damage, extend repair lifespan, and prevent adjacent areas from deteriorating as quickly.
- Call a professional roofer if multiple areas show damage, the substrate is wet or rotted, structural issues exist, or the roof is under warranty—expert inspection costs $200–500 but can prevent thousands in water damage.
Understanding Bitumen Flat Roofs and Common Damage
Bitumen flat roofs, also called asphalt or BUR (built-up roof) systems, consist of alternating layers of bitumen (a sticky petroleum product) and reinforcing fabric or fiberglass. This layering creates a waterproof membrane that sheds water across a minimal slope. The system works well because bitumen is inherently flexible and adheres strongly to substrates.
Damage patterns on bitumen roofs fall into a few categories. Blistering occurs when moisture or air pockets trapped beneath the bitumen expand under heat, lifting the surface into bubbles. Splits and cracks develop as bitumen hardens with age and shrinks, especially in temperature swings. Punctures and tears result from foot traffic, debris impact, or installation flaws. Seams separating happen when adhesive or bitumen bonding layer fails between rolls of material.
The underlying cause usually traces to moisture, thermal stress, or neglected maintenance. UV radiation accelerates bitumen oxidation, making older roofs more brittle and prone to cracking. This is why light-colored reflective coatings help, they reduce surface temperature and slow degradation.
Signs Your Bitumen Roof Needs Repair
Catching bitumen roof damage early prevents leaks from spreading into insulation and framing, where water causes rot and mold. Start with a visual inspection from the ground with binoculars or a safe vantage point. Look for blisters or bubbles breaking the otherwise flat surface, visible cracks or seams pulling apart, and areas of debris accumulation or standing water.
Inside the attic or top-floor ceiling, check for water stains, soft drywall, or mold spots. These are often the first sign a roof leak exists. If the roof feels spongy or soft underfoot during close inspection, the underlying substrate may already be water-damaged, a sign the problem runs deeper than surface repair.
Flashing around vents, HVAC penetrations, and chimney bases is a common failure point. If sealant is cracked or missing, water finds its way in quickly. Age matters too: bitumen roofs typically last 15–20 years with proper maintenance. If a roof is approaching or past this age and showing any damage, repairs become urgent.
Tools and Materials You’ll Need
Tools:
- Roofing knife or utility knife with a sharp blade
- Wire brush or scraper
- Broom
- Propane torch or heat gun (for some repair methods)
- Brush or roller for application (3–4 inch width)
- Tape measure
- Safety harness and roof anchor (if working at height)
- Caulking gun (if using cartridge sealants)
Materials:
- Bitumen patching compound (cold-applied or heat-activated, depending on roof type)
- Roofing felt or fiberglass patch fabric (for reinforcement)
- Roofing cement or bituminous mastic (adhesive)
- Primer (if recommended by repair product manufacturer)
- Reflective roof coating or sealant (optional, for UV protection and future waterproofing)
- Rags or sponges for cleanup
- Solvents (mineral spirits or naphtha) to thin bitumen if needed
Personal Protective Equipment:
- Safety goggles
- Work gloves (nitrile or rubber)
- Dust mask (if scraping generates dust)
- Sturdy footwear with good grip
- Knee pads (if working on your knees)
For small patches, one-part self-adhesive bitumen patches simplify the job. For larger damage or seam work, traditional roofing cement and felt fabric provide flexibility and durability.
Step-by-Step Repair Process
Preparing the Damaged Area
Proper prep is half the job. Start by clearing the repair zone of debris, leaves, and dirt using a broom and soft brush. If blistering is present, carefully cut an X through the blister with a roofing knife, then lift the edges. Allow trapped moisture to evaporate: if the substrate beneath is soft or wet, the patch won’t adhere properly. Use a wire brush to rough up the existing bitumen surface within 6–12 inches of the damage, this helps adhesion. Remove any loose bitumen, felt fragments, or oxidized material until you’re down to firm, intact surface.
For cracks, use a wire brush to clean the gap, then blow it free of dust with compressed air or a hand pump. If the crack is deeper than 1/4 inch, consider routing it slightly wider with a knife to allow the repair material to key in. Sweep and inspect again: cleanliness is non-negotiable. Even a thin layer of dust or algae breaks the seal between repair material and roof.
In cold weather (below 50°F), bitumen becomes stiff and won’t bond well. If possible, schedule repairs on a warm, dry day. If you must work in cold, a heat gun can soften the existing bitumen surface and improve adhesion.
Applying the Repair Solution
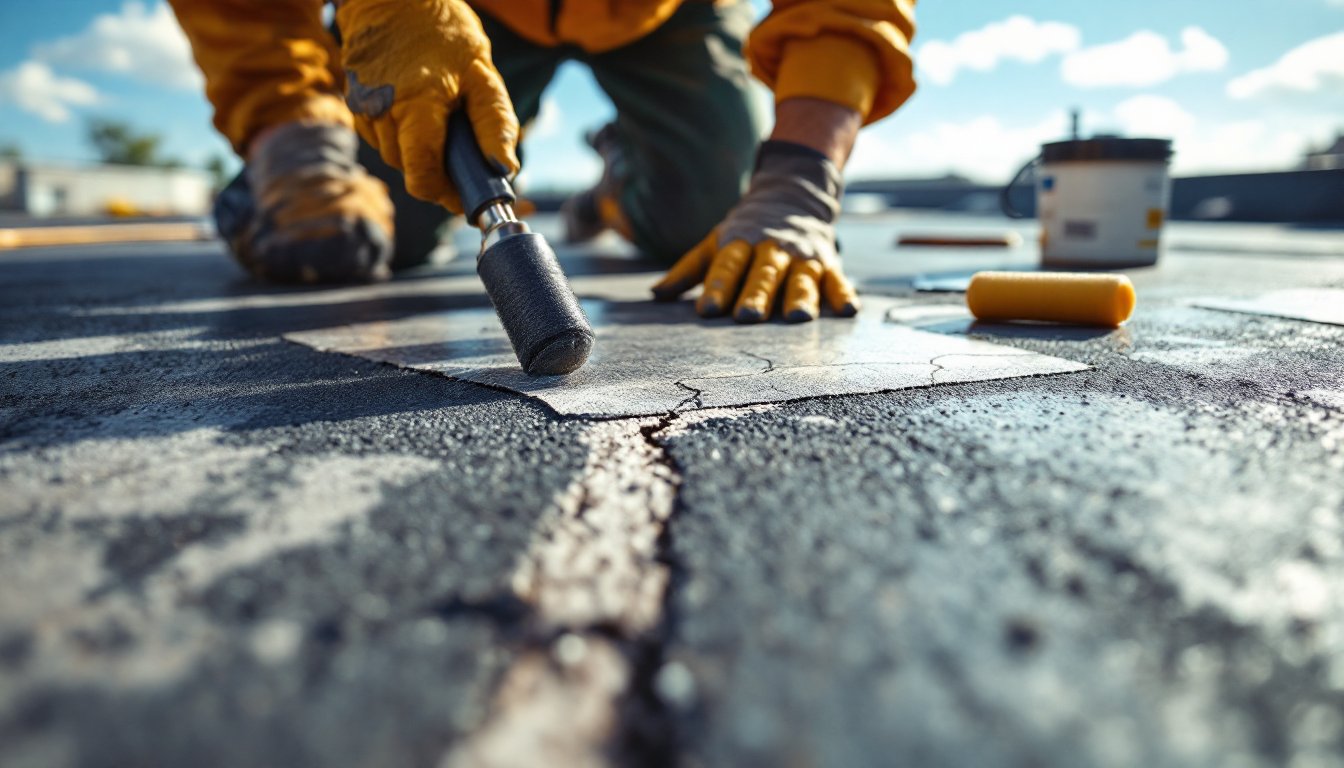
For small punctures or narrow cracks (less than 1/4 inch wide and under 12 inches long), a self-adhesive bitumen patch is the fastest fix. Peel the backing, press it firmly over the damage, then roll it smooth with a hand roller to ensure full contact.
For larger cracks or blisters, use the traditional method: Apply a layer of roofing cement to the exposed substrate using a brush or trowel, roughly 1/8 inch thick. Cut a piece of roofing felt or fiberglass patch fabric 3–4 inches larger than the damage in all directions. Press it into the wet cement, then apply another layer of cement over the top. Feather the edges so they overlap the original roof cleanly. Allow the product’s cure time (typically 24–48 hours before foot traffic) before applying a topcoat.
For blistered areas, after cutting the X and allowing moisture to escape, brush away loose material. If the blister is isolated and the substrate is firm, you can sometimes inject bituminous sealant under the edges using a caulking gun, then press flat and weight it down. If the substrate is damaged, remove the blister, prep the substrate, and patch as described above.
Seam separation requires removing old adhesive along the seam, cleaning both edges thoroughly with a wire brush, then applying fresh roofing cement and pressing the edges together firmly. Extend a patch over the seam if it’s severely compromised.
Once the repair is set, consider applying a reflective roof coating or additional sealant to the patched area for UV protection. This step extends the life of the repair and prevents adjacent areas from deteriorating as quickly. Allow all products to cure fully before exposing the roof to heavy rain or foot traffic.
When to Call a Professional Roofer
DIY bitumen roof repairs work well for isolated damage, but some situations demand a licensed professional. If multiple blisters, cracks, or leaks appear across a large area, the roof’s underlying structure or warranty may be compromised. A roofer can assess whether the entire membrane is failing and recommend replacement rather than piecemeal patching.
Structural damage, soft spots, sagging, or evidence of rot in the substrate, requires professional evaluation. Patching over a wet or rotted base wastes materials and money. Flashing failures around vents, skylights, or penetrations often need professional resealing or replacement for proper waterproofing. If the roof is still under warranty, DIY repairs may void it: check documentation first.
Also consider safety: working on a roof at height carries real risk. If your roof pitch is steep or the surface is slippery when wet, professional crews have the experience, harnesses, and insurance to handle it safely. A $200–500 professional inspection can save thousands in water damage if the underlying damage is more severe than visible from below. When in doubt, invest in a consultation: your ceiling and walls will thank you.